
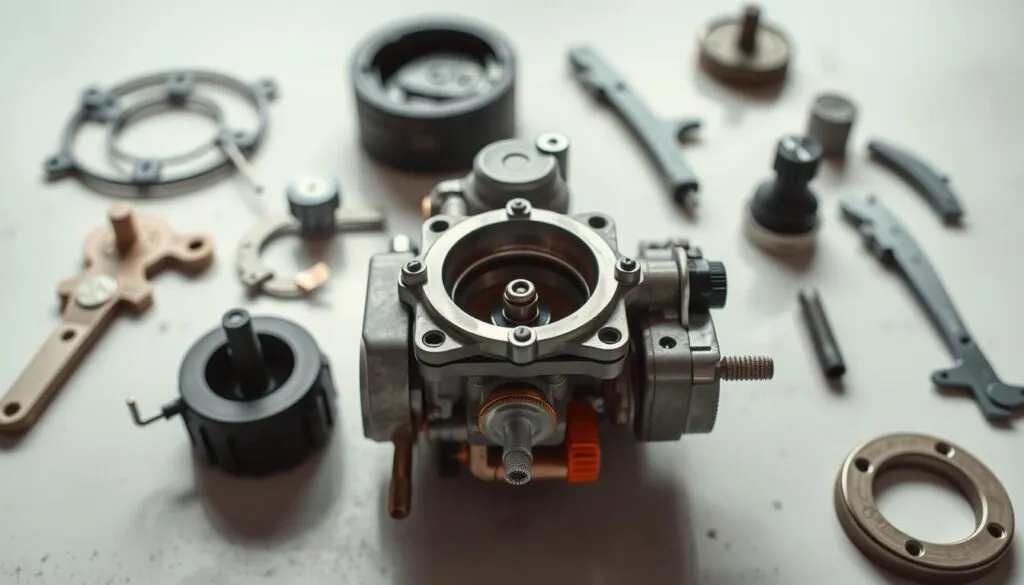
Ever pull the starter cord on your equipment, only to be met with silence or a sputtering engine that quickly dies? This frustrating moment often points to a single, critical component: the carburetor. This small part is the heart of your machine’s fuel system, mixing air and gas to create the power needed for a smooth cut.
When this part gets clogged with old fuel residue or debris, performance suffers. You might notice black smoke, rough operation, or your unit stalling mid-task. Proper maintenance is the key to avoiding these common problems.
Knowing the correct application points for a specialized solvent can transform your equipment’s reliability. This guide will show you the precise spots to target, saving you from costly repairs and ensuring your yard work gets done efficiently.
Key Takeaways
- A malfunctioning carburetor is a leading cause of lawn mower engine failure.
- Proper cleaning can resolve issues like hard starting, stalling, and excessive smoke.
- Correct application of cleaner is crucial for effective maintenance.
- Understanding your mower’s fuel system prevents future performance problems.
- Regular upkeep extends the life of your outdoor power equipment.
Understanding the Lawn Mower Carburetor
Think of the carburetor as the precise chef for your engine, carefully blending fuel and air. This small part is fundamental to creating power. It ensures your equipment runs efficiently.
How Carburetors Work
Air flows into the carburetor through a narrowing tube called a venturi. This speeds up the air, creating a vacuum. The vacuum pulls fuel from a small bowl.
The two elements mix perfectly inside the venturi. This mixture then travels into the engine’s combustion chamber. There, it ignites to generate the power that turns the blade.
Importance in Engine Performance
This component does more than just mix fuel and air. It also regulates your engine‘s idle speed. It adjusts the mixture based on how hard the engine is working.
Even a tiny blockage can cause big problems. A dirty carburetor leads to poor performance. Understanding its role is the first step toward proper maintenance.
| Engine Condition | Throttle Position | Carburetor Action |
|---|---|---|
| Idle | Closed | Provides a small, rich mixture for stable low-speed operation. |
| Under Load (e.g., cutting thick grass) | Open | Delivers a larger volume of mixture for maximum power. |
| Acceleration | Rapidly Opening | Briefly enriches the mixture to prevent stumbling or hesitation. |
Signs Your Carburetor Needs Cleaning
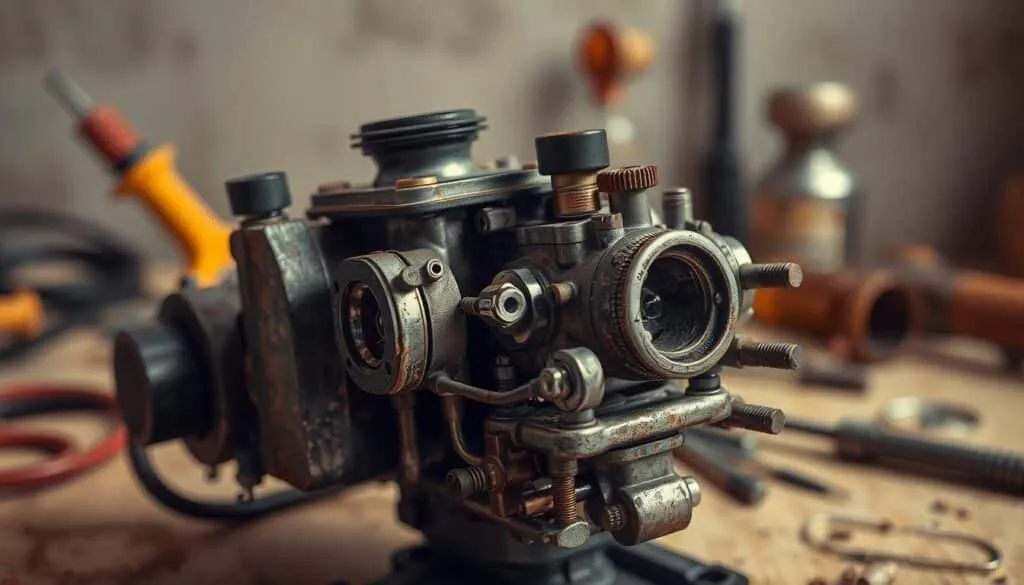
Several distinct symptoms indicate when your carburetor requires immediate attention and cleaning. Recognizing these early warning signs helps you address problems before they cause serious engine damage. Your equipment’s performance provides clear clues about its condition.
Difficulty Starting and Rough Idling
Hard starting often signals the first problem with your carburetor. Deposits prevent the proper air-fuel mixture from forming. This makes your engine struggle to turn over.
Rough idling manifests as vibrations and erratic speed fluctuations. Your equipment may stall unexpectedly at low speeds. These issues indicate restricted fuel flow through the component.
Reduced Power and Fuel Efficiency
Noticeable power loss during operation points to carburetor trouble. Your lawn mower may struggle with thick grass or inclines. The component fails to deliver adequate fuel when needed.
Poor fuel efficiency means your engine works harder than necessary. Increased consumption indicates an improper mixture. Addressing these issues saves time and money on fuel costs.
Essential Tools and Materials for Cleaning
Having all necessary supplies ready before disassembling your engine’s fuel system prevents frustrating interruptions. Proper preparation ensures you can complete the job efficiently.
Carburetor Cleaner and Safety Gear
Selecting the right carburetor cleaner is crucial for effective maintenance. Choose a fast-acting formula like CRC Clean-R-Carb™ that’s safe for all parts. This specialized cleaner should work on rubber, plastic, and metal components.
Always wear nitrile gloves and safety goggles when you use carburetor cleaner. These protect your skin and eyes from harsh chemicals. Safety should be your top priority during this maintenance task.
Additional Cleaning Supplies
Gather basic hand tools including screwdrivers and wrenches. You’ll need them to access the carburetor and its internal passages. A thin wire or needle helps clear clogged jets.
A small wire brush removes stubborn deposits from delicate parts. Compressed air blows out debris from small openings. Keep clean rags handy for wiping components.
Have a container ready to catch fuel during disassembly. Replacement gaskets ensure proper sealing when reassembling. Compressed air provides the final cleaning touch for hard-to-reach place.
Where to Spray Carb Cleaner in Lawn Mower
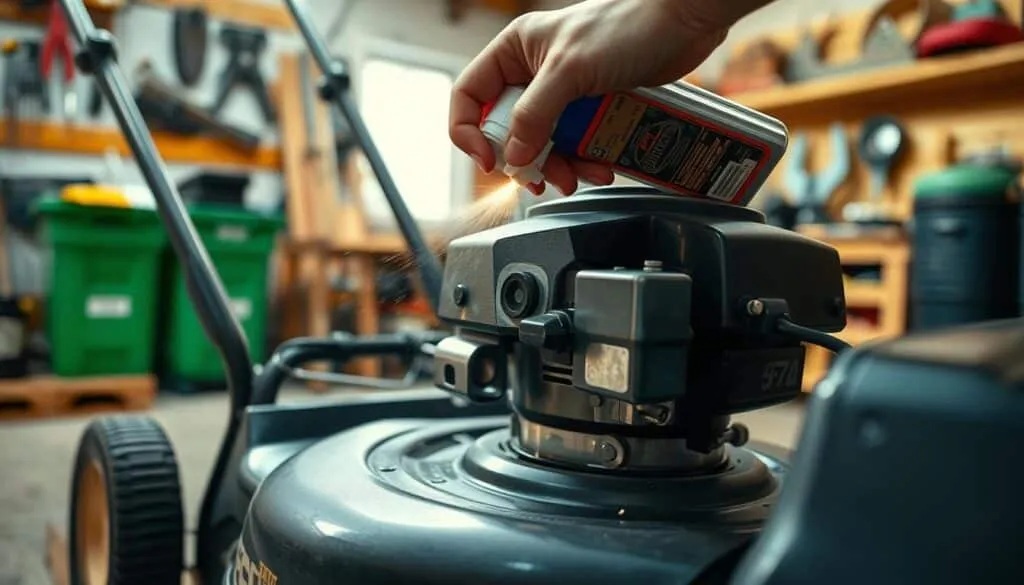
Locating the primary component is your first step toward restoring peak performance. The air filter housing usually sits directly on top of this vital part. You must remove this cover to gain access.
Tracing the line from the gas tank to the motor will lead you directly to the carburetor. It is often secured with a couple of bolts. This connection point is crucial for the fuel system.
Identifying Key Components on Your Mower
Once the cover is off, you will see the main opening, known as the throat. This is where air enters the device. It is the most important spot for applying the specialized solvent.
Look for the throttle plate and its moving linkage inside this opening. These parts can get sticky from old fuel residue. Also, find the small idle jet and mixture screw areas.
These tiny passages mix air and fuel. They are easily clogged. External surfaces also collect grease and dirt that should be dissolved.
Air Filter vs. Carburetor Areas
Understanding the relationship between the filter and the carburetor is essential. A dirty or oily air filter will quickly contaminate a freshly serviced unit.
Before you begin, always check that the filter is clean and correctly installed. This prevents new debris from causing immediate problems. It protects your maintenance work.
Apply the solution using short, controlled bursts into the throat. Avoid a continuous stream. This technique prevents stalling and allows the formula to work effectively on deposits.
Preparing Your Lawnmower for Cleaning
Proper preparation is the foundation of safe and effective lawn equipment maintenance. Taking these preliminary steps creates a secure workspace and prevents accidents during the procedure.
Engine Shutdown and Cooling Procedures
Always turn off your equipment completely before beginning any work. If you’ve recently operated the machine, allow sufficient time for the engine to cool.
Internal components remain dangerously hot after use. Touching them prematurely risks serious burns. Wait until the entire assembly is cool to the touch.
Disconnecting Spark Plug and Fuel Lines
Your first safety action is disconnecting the spark plug. Grip the black rubber boot firmly and pull it straight off the plug. This crucial step prevents accidental engine starts.
Next, address the fuel system. Drain any remaining fuel from the tank into an approved container. This prevents spills and fire hazards.
Locate the fuel shut-off valve (petcock) and turn it to the “Off” position. This stops fuel flow to the carburetor during your work.
Finally, remove the air filter housing. Inspect whether it’s secured with clips or screws before detaching it. A clean workspace ensures focus on the task.
Cleaning the Carburetor Without Removing It
Maintaining your equipment’s fuel system doesn’t always require complete disassembly. You can often achieve significant improvement through careful external application of specialized solvents. This approach works well for routine maintenance when deposits haven’t become severe.
Spray Techniques for External Cleaning
Begin with your engine running at idle speed. Apply short, controlled bursts of carburetor cleaner directly into the component’s throat. The operating motor will draw the solution through internal passages.
Manually operate the throttle linkage while applying the formula. This ensures the liquid reaches behind the plate where sticky residues accumulate. Target the idle jet and mixture screw areas with precise applications.
Precautionary Tips During In-Place Cleaning
Use the specialized solvent sparingly to protect rubber seals from chemical damage. Avoid electrical connections near the component during application. Allow complete drying time before reassembly.
This method effectively addresses minor contamination. As one small engine expert notes:
“External cleaning resolves many common performance issues without the complexity of full disassembly.”
| Method | Time Required | Effectiveness Level | Skill Level Needed |
|---|---|---|---|
| Cleaning Without Removal | 15-20 minutes | Good for minor issues | Beginner |
| Full Disassembly | 45-60 minutes | Complete restoration | Intermediate |
| Professional Service | 1-2 hours | Guaranteed results | Expert required |
If problems persist after this cleaning procedure, complete disassembly becomes necessary. The carburetor without removing technique serves as an excellent first step in troubleshooting.
Disassembling for Deep Cleaning
For stubborn performance issues that resist simple fixes, you must access the component’s interior. This process requires complete removal from your equipment.
Deep cleaning addresses severe contamination that surface methods cannot reach. It restores proper function when basic maintenance fails.
Removing the Carburetor from the Mower
Begin by disconnecting the throttle and choke linkage cables. Use a nut driver to remove the two mounting bolts.
Place a bucket beneath the unit to catch residual fuel. Carefully detach the fuel lines using needle-nose pliers.
Gently pull the assembly off the mounting studs. Avoid damaging the main gasket during this step.
Document the original position to prevent incorrect reassembly. Note the orientation of all connection points.
Cleaning Internal Parts and Passages
Unscrew the bottom bowl to access interior components. Remove the float by extracting its hinge pin.
Apply specialized solvent directly into jets and passages. Allow it to soak for several minutes before scrubbing.
Use a thin wire or needle to clear tiny openings. A small brush removes stubborn deposits from delicate parts.
For comprehensive cleaning, soak all components in a solvent bath for approximately one hour. This dissolves hardened residues effectively.
Rinse thoroughly with water after cleaning. Ensure complete drying using compressed air before reassembly begins.
Maintenance Tips for a Long-Lasting Carburetor
Establishing a consistent maintenance routine ensures your equipment operates reliably season after season. Proper care prevents frustrating breakdowns during peak mowing periods. A well-planned schedule saves you from unexpected repairs.
Your engine’s fuel system requires regular attention to maintain optimal performance. This proactive approach extends the lifespan of vital components. It keeps your yard work on track throughout the year.
Regular Cleaning Schedule
Most equipment benefits from attention two to three times annually. Plan one thorough deep cleaning before the spring season begins. This addresses deposits that accumulated during winter storage.
Timing this annual service right after winter is optimal. It removes fuel varnish from months of inactivity. Your machine will be ready for reliable operation.
Always use fresh gasoline in your equipment. Stale or contaminated fuel causes most clogging issues. Add stabilizer before extended storage periods.
Remember that component care connects to overall engine health. Regular air filter inspection prevents contamination. Spark plug maintenance and oil changes contribute to longevity.
Frequent users or those in dusty conditions may need more frequent attention. Adjust your schedule based on actual usage patterns. Consistent upkeep guarantees smooth operation when needed.
Troubleshooting Post-Cleaning Issues
Even after a thorough cleaning, your equipment might still show signs of trouble. This final step helps you confirm a successful repair or identify deeper issues within the machine’s system.
Proper diagnosis saves you from repeating work unnecessarily. It also prevents potential damage from misidentified problems.
Common Performance Problems
Begin your evaluation by adding fresh fuel to the tank. Start the unit and listen carefully. A smooth, steady run indicates success.
If the motor hesitates, smokes, or stalls, the original issue may persist. This suggests the contamination was not the root cause. Your fuel system might have a blockage elsewhere.
Check the spark plug condition and ensure the fuel valve is open. These simple oversights can mimic a faulty component.
Reassembly and Testing Tips
Before testing, double-check all connections. Ensure linkages move freely and gaskets are seated correctly. A small mistake during reassembly can create new problems.
Use a simple spray test for a clear diagnosis. Apply a burst of aerosol into the carburetor throat. If the engine starts briefly, the issue is likely fuel delivery, not the part itself.
As one mechanic notes, this test quickly points to the real culprit.
A momentary start after spraying confirms the carburetor is clean, pointing the diagnosis toward the fuel line or tank.
If the unit refuses to start after several attempts, the problem could be more serious. At this point, professional small engine repair is the safest next step.
| Symptom After Cleaning | Likely Cause | Recommended Action |
|---|---|---|
| Engine runs smoothly | Successful maintenance | No further action needed |
| Starts but dies quickly | Fuel delivery issue | Check fuel lines and filter |
| No start, even with spray | Ignition or serious mechanical fault | Seek professional repair |
Additional Tips for Various Small Engines
The knowledge you gain from maintaining your yard equipment extends far beyond just grass cutting tools. This same expertise applies to motorcycles, generators, and other gas-powered machines. Understanding these universal principles gives you confidence across your entire equipment collection.
Fundamental carburetor operation remains consistent across different engine types. The mixing of fuel and air follows the same basic physics. Only specific access procedures and component configurations vary between machines.
Motorcycle and Other Engine Considerations
Motorcycles benefit greatly from regular cleaning every six to twelve months. A clean carburetor ensures smooth acceleration and stable idling. This maintenance also improves fuel efficiency by removing clogs.
The same preventive measures protect all small engine applications. Always use fresh gasoline and add stabilizer before storage. Replace air and fuel filters regularly to prevent debris from entering the system.
This idea of universal maintenance saves money across your equipment inventory. Generators, pressure washers, and other tools use similar parts. Your diagnostic skills now apply to multiple machines.
The spray carburetor cleaner technique works effectively on various engines. This practical idea extends your capabilities beyond basic lawn care equipment. A carburetor lawn mower shares principles with motorcycle systems.
Conclusion
The confidence to tackle engine troubles head-on is a powerful skill for any equipment owner. You now possess the knowledge to ensure your machine’s heart—the carburetor—operates at its best.
Regular upkeep is a small step that delivers significant rewards. A clean carburetor guarantees smooth performance, better fuel economy, and a longer life for your engine.
This proactive approach to maintenance saves you money and frustration. You can avoid costly professional repairs and keep your equipment ready for any task.
Incorporate these simple practices into your seasonal routine. Your reliable lawn mower carburetor will thank you for many productive years ahead.
FAQ
Can I really clean my lawn mower carburetor without taking it apart?
Yes, you can perform a basic external cleaning without removing the carburetor. Using a specialized aerosol cleaner, you spray directly into the intake throat and other small engine parts. This can dissolve light varnish and debris, often resolving minor performance issues. For severe clogs or internal damage, a full disassembly is usually necessary for a thorough job.
What are the main signs that my small engine’s carburetor needs attention?
Watch for clear symptoms like hard starting, rough idling, or the engine stalling. You might also notice a loss of power while cutting grass or black smoke from the exhaust. Poor fuel efficiency is another common indicator that the fuel system, likely the carburetor, requires maintenance.
Is it safe to spray carburetor cleaner with the air filter in place?
No, you should always remove the air filter before spraying any cleaner. The filter is designed to block debris, and saturating it with chemicals can ruin its effectiveness. Cleaning the carburetor lawn mower components properly requires direct access to the intake area for the spray to work correctly.
How often should I clean the carburetor on my lawn mower for optimal performance?
A good maintenance schedule includes inspecting and potentially cleaning the carburetor at least once a year, ideally before the mowing season starts. If you use fuel stabilizer and run the engine dry before storage, you may extend the time between deep cleanings. Regular care prevents most common problems.
What should I do if my mower still runs poorly after I’ve cleaned the carburetor?
First, double-check your work. Ensure all parts are reassembled correctly and that the float bowl and jets are clear. Verify the spark plug is in good condition and the fuel system has fresh gas. If issues like rough idling persist, there may be a more complex engine problem or internal damage requiring professional small engine repair.
Can I use the same carburetor cleaner for other equipment, like a motorcycle?
Many aerosol carburetor cleaners are formulated for various small engines, including those on motorcycles. Always check the product label to confirm it’s safe for your specific equipment. The cleaning process for different engines can be similar, but always consult your owner’s manual for the manufacturer’s recommended procedures.