
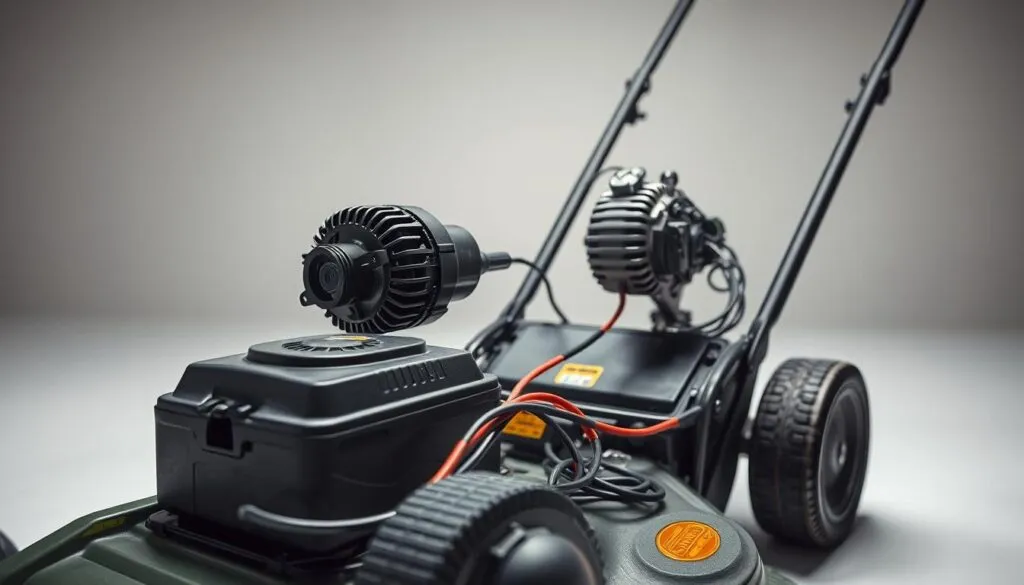
Have you ever wondered how your trusty yard machine manages to stay powered up season after season? Many people assume their equipment’s energy source simply recharges on its own, but the reality is far more fascinating.
Your outdoor power equipment doesn’t magically restore its own energy. Specific components within the charging system work together to maintain proper power levels. Understanding this process is essential for every property owner who relies on their yard maintenance tools.
Modern designs incorporate built-in mechanisms that activate while the engine operates. This means your equipment’s electrical energy gets replenished during normal use. Knowing how this system functions helps prevent unexpected breakdowns and extends the life of your power source.
Whether you operate a riding unit or a walk-behind model, each has distinct charging requirements. This guide will explore different energy storage types, charging components, testing methods, and maintenance strategies. You’ll gain practical knowledge to keep your outdoor equipment running reliably for years.
Key Takeaways
- Your equipment’s power source requires specific components to recharge properly
- Modern designs feature built-in charging mechanisms that work during operation
- Understanding the charging process helps prevent unexpected equipment failures
- Different types of yard maintenance machines have unique charging requirements
- Proper maintenance extends the life of your equipment’s energy storage system
- Regular testing ensures your charging components function correctly
- Safety practices are crucial when working with electrical systems in outdoor power equipment
Understanding Lawn Mower Batteries
Your outdoor equipment’s power source comes in several distinct varieties that affect performance. Knowing the differences helps you choose the right energy storage for your specific needs.
Types of Lawn Mower Batteries
Traditional lead-acid units remain common in many riding models. These reliable power sources typically operate at 12 volts, though some smaller equipment uses 6-volt configurations.
Modern lithium-ion options offer significant advantages. They feature lighter weight and faster recharge capabilities compared to older technologies.
Electric push models often use removable power packs. These require separate charging away from the equipment itself.
How Batteries Charge and Discharge
Energy storage devices work through chemical reactions that store and release electricity. This process powers your equipment’s starter and electrical components during operation.
Lead-acid varieties experience self-discharge when not in use. Proper maintenance prevents capacity loss and extends functional life.
Matching the correct power source to your equipment ensures optimal performance. Voltage requirements vary between different machine types and sizes.
What Charges Battery on Lawn Mower
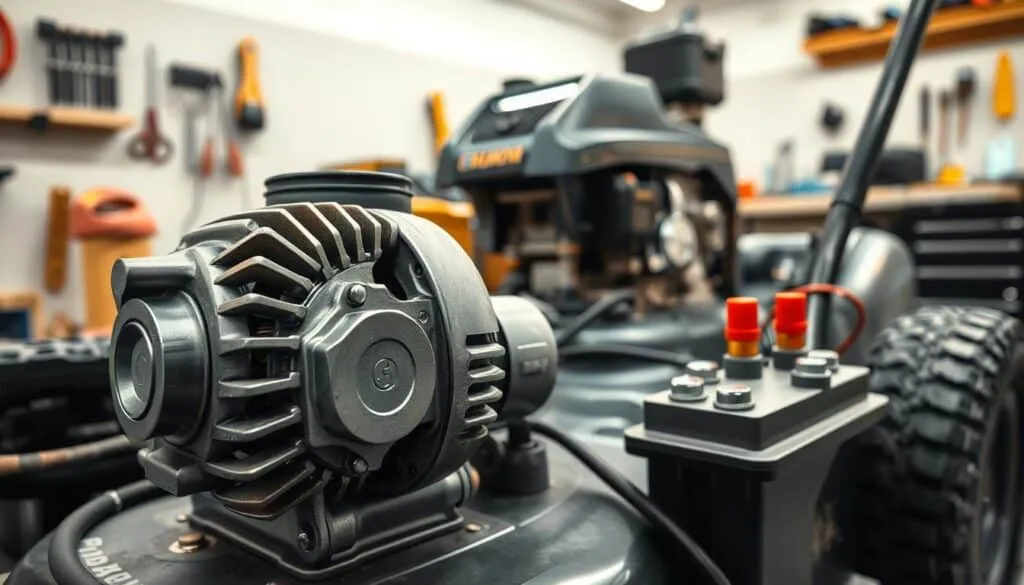
Key-start ignition systems contain a clever arrangement of components that work together to maintain power levels during operation. This integrated electrical network ensures your equipment remains ready for action whenever you need it.
Components of the Charging System
The charging system consists of several essential parts working in harmony. The stator provides stationary coils that generate electrical current through magnetic induction.
Your alternator serves as the primary energy converter within this setup. It transforms mechanical rotation into usable electricity for your equipment.
A voltage regulator controls the flow of power to prevent damage. This component ensures safe charging rates throughout operation.
The Role of Alternators in Charging
Alternators perform the critical task of energy conversion while your engine runs. They harness rotational force from the crankshaft to generate electrical current.
This process continuously replenishes your power source during normal use. The system creates a sustainable loop that maintains optimal charge levels.
You can easily test alternator function with a simple headlight check. Turn on your equipment’s lights, then shut off the engine. If the illumination dims, your alternator works correctly.
The voltage regulator protects your energy storage from excessive power flow. This safety feature extends the life of your entire electrical system.
Battery Charging Best Practices and Safety Tips
Working with power storage units involves potential risks that necessitate comprehensive safety preparations. Following proper protocols ensures your equipment remains functional while protecting you from harm.
Improper handling can lead to serious hazards including explosions and burns. Always prioritize safety above all other considerations when maintaining your equipment.
Proper Handling and Safety Equipment
Begin every maintenance session by wearing essential protective gear. Safety glasses shield your eyes from potential sparks or acid splashes. Durable gloves protect your hands from electrical shocks and corrosive materials.
Choose a well-ventilated workspace away from flames or ignition sources. Power units emit hydrogen gas during charging that requires proper air circulation. This prevents dangerous gas accumulation.
Keep all metal objects away from your work area. Accidental contact between tools and the positive terminal and negative terminal can cause short circuits. This protects both you and your equipment’s electrical system.
Inspect battery terminals before connecting any charger. Clean, dry terminals ensure efficient power transfer and reduce safety risks. Remove any corrosion or moisture buildup.
Avoid tipping the unit or removing vent caps during maintenance. This prevents acid spills and gas releases. Always make sure the container remains upright and sealed.
Do not leave your power source connected indefinitely. Overcharging causes overheating and reduces battery life. Disconnect once the unit reaches fully charged status.
Check for visible damage like cracks or bulging before beginning any work. Verify connections are secure after completing the charging cycle. These steps maintain optimal battery life and ensure safety.
Troubleshooting and Testing Your Mower Battery
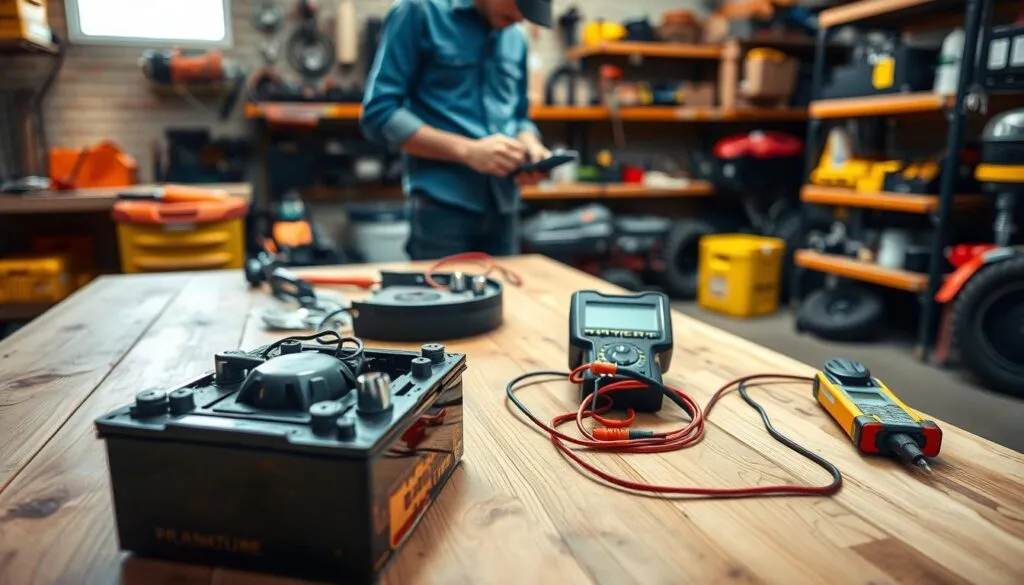
Diagnostic testing provides clear answers when your outdoor power equipment experiences electrical failures. Begin with simple checks before moving to advanced multimeter analysis.
When your equipment won’t start, first inspect all connections. Clean, tight terminals ensure proper power flow. Then connect your energy source to a charger.
Using a Multimeter for Diagnosis
Service part number 19602 helps determine if power drains during storage. Set your multimeter dial to AC VOLTS or DC AMPS based on wire colors.
Insert the black lead into the COM receptacle. For AC VOLTS testing, connect to an engine bolt. For DC AMPS, attach to the positive terminal.
Identifying Connection and Voltage Issues
Your equipment’s manual specifies proper voltage ranges. Compare multimeter readings against these standards. The eight-hour rule indicates replacement needs.
If your power source doesn’t reach full capacity within this timeframe, it likely requires replacement. Consistent voltage drops signal connection problems.
Alternator Testing Methods
Start your engine and let it warm up completely. Use service part number 19598 to maintain 3600 RPM during testing.
Compare your multimeter reading against alternator specifications. Proper AMP output confirms your charging system functions correctly. This eliminates guesswork in repairs.
Selecting the Right Battery Charger and Accessories
Choosing the proper power restoration equipment for your yard maintenance tool requires careful consideration of several technical specifications. The correct accessories ensure your equipment receives optimal electrical input without risking damage to its energy storage system.
Matching Charger Specifications to Your Battery
Always verify your equipment’s voltage requirements before purchasing any charging accessories. Most modern units operate on 12V systems, though some older models may require 6V compatibility. Using a charger with higher output can permanently damage your power storage unit.
Amperage ratings matter significantly for safe operation. Select devices with less than ten amps for gentle, effective power restoration. A 10Ah rating typically provides ideal charging performance for most residential equipment.
Modern chargers offer multiple mode settings to accommodate different needs. Jump-start functions provide emergency power, while slow charge options gently restore energy overnight. Fast charge settings quickly replenish power for immediate use.
Advanced features include integrated timers that track charging hours and automatic shutoff to prevent overcharging. Float modes maintain optimal capacity during storage periods without risking damage. Ensure clamp types match your specific model’s terminal configuration for secure connections.
Smart Charging Solutions and Portable Power Options
Today’s smart charging options provide unprecedented convenience for property maintenance needs. You can restore your equipment’s energy using three primary methods: compatible units, vehicle jump-starts, or portable stations.
Benefits of Solar Generators and Portable Power Stations
Portable stations like Jackery models offer flexible outdoor solutions. Their safe LiFePO4 or NMC technology supplies steady current in remote locations.
Corded equipment draws 1200-1800 watts per hour. Cordless models require only 1000-1400 watts. This difference affects your charging strategy.
“Proper charging extends equipment lifespan while ensuring reliable performance when you need it most.”
Optimizing Charge Times with Modern Chargers
Different models have varying requirements. Small push units charge quickly, while larger equipment needs more time.
| Equipment Type | Charging Time | Operation Time | Power Consumption |
|---|---|---|---|
| Snapper Push Mower | 30 minutes | 25-30 minutes | Lithium-ion |
| Sun Joe Light Mower | 1.5-2 hours | 45 minutes | Standard |
| Cub Cadet Sit-on | 4 hours | 1-1.5 hours | Heavy-duty |
| Weibang Commercial | 12 hours | 2.5 hours | Commercial grade |
The Jackery Explorer 3000 Pro demonstrates portable capability. It powers corded equipment for 1.4-2.1 hours. Cordless models run 1.8-2.5 hours.
Follow these steps for optimal results. Monitor charging progress and disconnect when fully charged. This preserves your energy storage lifespan.
Conclusion
Your equipment’s longevity depends on a comprehensive approach to electrical system care and maintenance. The alternator, engine-driven mechanism, and external chargers work together to keep your power source functioning optimally throughout the mowing season.
During winter storage, disconnect the unit from your equipment and store it in a cool, dry location. Use the power source monthly to maintain its capacity. This prevents the gradual loss of energy retention ability.
Always remove the unit from the charger once it reaches full capacity. Never attempt to jump-start vehicles with your equipment, as this can cause serious damage. Keep charge levels above 20% for optimal performance.
Proper connection to terminal points and avoiding metal contact ensures safe operation. Following these guidelines will maintain your equipment effectively for years of reliable service.
FAQ
What is the primary component that charges my lawn tractor’s battery while it’s running?
The alternator is the main component responsible for keeping your power source topped up. As the engine runs, the alternator generates electricity to replenish the battery and run the electrical system.
Can I use any standard automotive charger to replenish my mower battery?
You must check your owner’s manual first. While many chargers are compatible, using one with incorrect voltage or amperage can damage the unit. It’s best to use a smart charger designed for small engine applications.
How often should I perform maintenance on my lawn tractor’s charging system?
Regular checks are crucial for long life. Inspect terminals for corrosion and ensure connections are tight every few months. A full system test with a multimeter at the start of each season is a wise safety step.
What is a safe way to connect a charger to the terminals?
Always connect the positive cable to the positive terminal first, then attach the negative cable to the negative terminal or a clean metal ground on the engine. This sequence helps prevent dangerous sparks.
How long does it typically take to get a fully charged battery using an external unit?
Charge times vary based on the charger’s amps and the battery’s capacity. A deeply discharged unit might need several hours. A modern smart charger will automatically switch to a maintenance mode once full.
What are the benefits of a portable power station for maintaining my equipment?
Portable power stations offer incredible convenience. You can easily bring power to your shed or garage to run a charger without needing a nearby outlet, making them ideal for off-grid storage locations.