
Have you ever wondered why a perfectly good piece of equipment suddenly refuses to start, leaving you stranded mid-task? This frustrating scenario often traces back to a single, small part that many overlook until it’s too late.
Consider the story of a Honda walk-behind mower at a children’s camp. After nearly five years of reliable service, it just stopped. The culprit? A tiny component that had never been checked. This device strains impurities from gasoline before it reaches the carburetor. A simple rinse under a tap had the machine running again in under fifteen minutes.
This critical part directly impacts your equipment’s ability to start and run smoothly. A clog can cause sputtering, power loss, or a complete shutdown during crucial lawn care. Regular upkeep of this component is vital for consistent cutting performance and engine health.
This guide is designed to help you locate this essential part on various models. You will learn identification techniques, common placements, and simple maintenance procedures. Proper care extends your machine’s lifespan, prevents costly repairs, and ensures better fuel efficiency for a healthier lawn.
Key Takeaways
- The fuel filter is a small but vital component that protects your mower’s engine from debris.
- A clogged filter is a common reason for starting problems and poor performance.
- Regular maintenance of this part can prevent unexpected breakdowns during use.
- Locating and servicing the filter is a manageable task that can save you money.
- Proper upkeep contributes to a longer lifespan for your lawn care equipment.
- Understanding its role helps you troubleshoot issues more effectively.
- Simple cleaning can sometimes restore function quickly, as shown in real-world examples.
Understanding Your Lawn Mower Fuel Filter
Every drop of gasoline that enters your equipment’s engine must first pass through a critical checkpoint. This component is your first line of defense against performance issues.
What Is a Fuel Filter and Its Role?
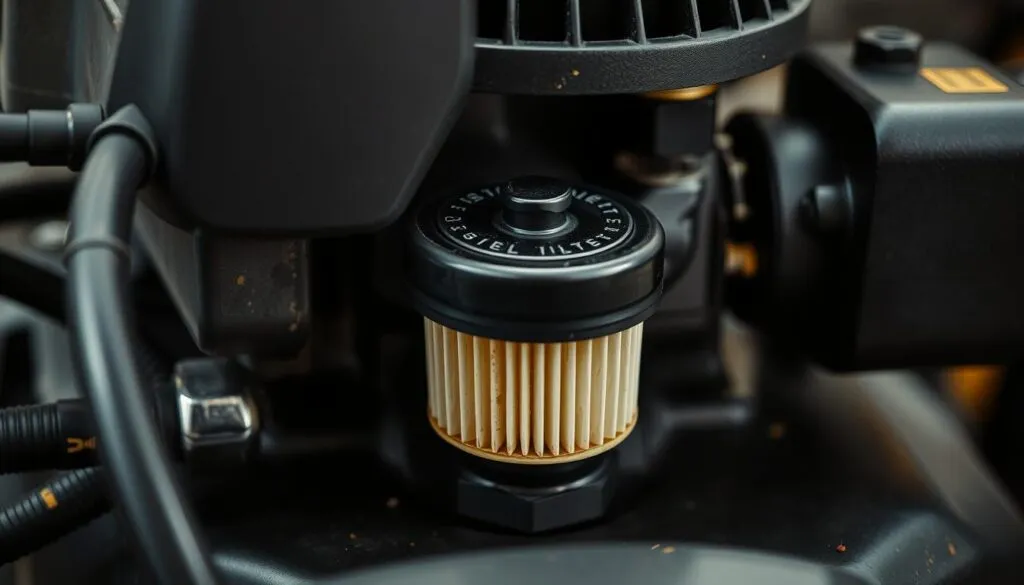
A fuel filter is a small, cylindrical device placed in the fuel line. It contains a special filtering material, like pleated paper or a fine mesh screen. This material traps contaminants such as dirt, rust, and other debris.
Its primary job is to stop these impurities from reaching the carburetor. Clean gasoline is essential for creating the proper air-fuel mixture needed for combustion. When this part works correctly, your lawn mower operates reliably.
How the Fuel Filter Enhances Engine Performance
A clean filter ensures smooth combustion inside the engine. This leads to several key benefits for your lawn care equipment.
- Steady Power: Your mower delivers consistent power, even in thick grass.
- Better Efficiency: Clean fuel burns completely, improving gas mileage.
- Prevents Stalling: It stops sputtering and unexpected shutdowns.
These fuel filters are inexpensive but vital for protecting your investment. Recognizing their function helps you maintain peak engine performance.
Where is fuel filter on lawn mower: Location Essentials
The placement of this essential engine protection device follows specific patterns that vary by manufacturer and model type. Knowing these common configurations helps you quickly identify the component on your equipment.
Common Locations on Different Mower Models
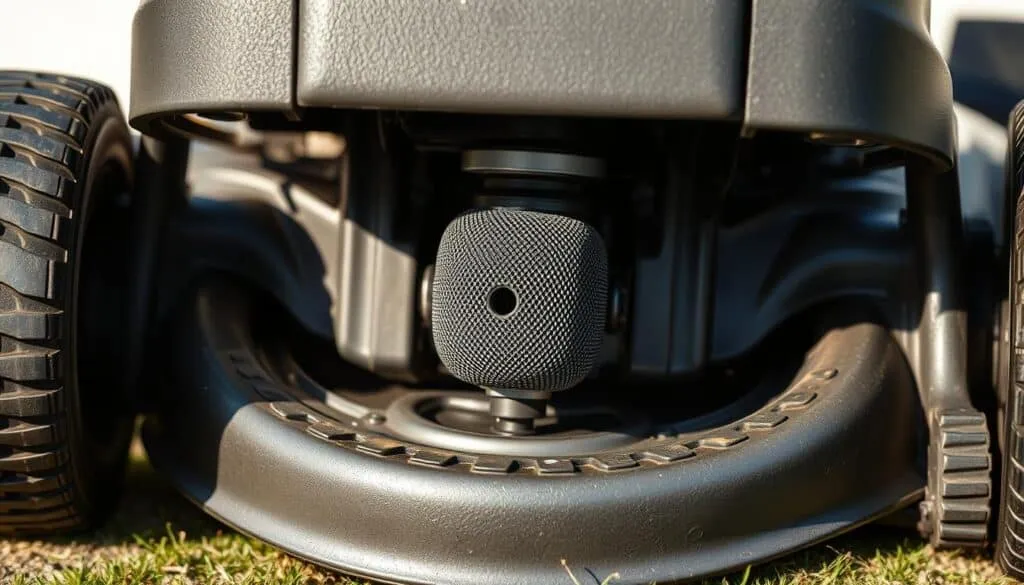
You’ll typically find this part in one of two primary positions. The first is along the fuel line between the gas tank and carburetor. These inline components are usually visible and accessible.
The second common placement is inside the fuel tank itself. These internal parts attach to the pickup tube submerged in gasoline. Tracing the line from the tank toward the engine reveals the exact position.
Replaceable vs Non-Replaceable Fuel Filters
Serviceable components come in two main styles. Canister types feature transparent plastic housing with pleated material inside. They connect directly into the fuel line with spring clips.
Tube-style parts slide inside the line connection at the tank. They have fine mesh screens that catch debris before it enters the system. Some tanks contain permanent metal mesh screens instead.
Always consult your equipment’s manual for specific details. Modern engines may integrate these parts directly into the tank as non-serviceable components.
Tips for Cleaning and Checking a Clogged Fuel Filter
Safety should always come first when working with gasoline-powered equipment. Proper preparation prevents accidents and ensures effective maintenance.
Safety Precautions and Preparation Steps
Begin by parking your equipment on a flat surface in a well-ventilated area. Let the engine cool completely before starting any work.
Disconnect the spark plug wire to prevent accidental starting. This critical step protects you from serious injury.
Drain gasoline from the tank using a siphon pump. If running the machine dry, always do this outside away from structures.
Wear safety eyewear and have clean rags ready. These simple precautions protect against fuel splashes and vapors.
Visual Inspection and Cleaning Techniques
Locate the component by tracing the line from the gas tank toward the engine. Identify where the part connects along this path.
For transparent canister styles, hold them up to light. Check the pleated material inside for discoloration or debris accumulation.
Tube-style parts with mesh screens require different inspection. Look through the meshed end to see if light passes clearly.
Canister filters generally cannot be effectively cleaned. Replacement is recommended when they show contamination.
Mesh screen types can sometimes be restored. Rinse carefully with water from the clean end toward the mesh until water runs clear.
If light doesn’t pass through after cleaning, replacement becomes necessary. Regular inspection helps catch problems early.
Always consult your owner’s manual for specific recommendations. Proper maintenance prevents starting issues and power loss.
Step-by-Step Fuel Filter Replacement Guide
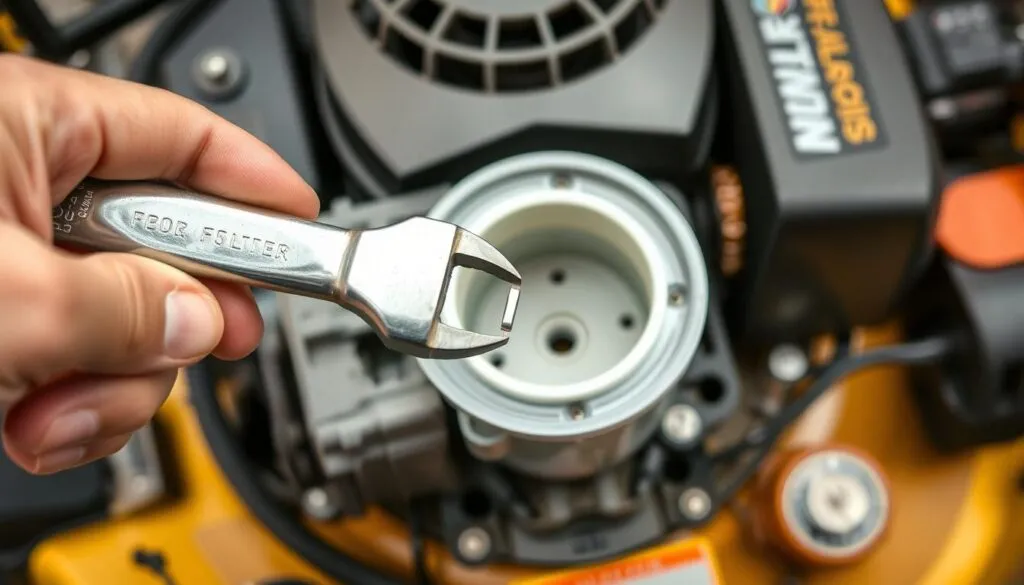
With basic tools and about 15 minutes, you can complete this essential maintenance task yourself. This straightforward process requires needle-nose pliers, a plastic container, clean rags, and the correct replacement part for your specific equipment model.
Removing and Inspecting the Old Filter
Begin by shutting off the fuel valve at the base of your gas tank. If your equipment lacks a valve, use a clamp on the line instead. Avoid pinching the hose too tightly to prevent damage.
Use pliers to remove the metal clips securing the component. Slide the old part out carefully, catching any dripping gas in your container. Shake remaining fuel over a cloth and examine the filtering material for debris.
Check the fuel line ends for cracks or hardening. Replace deteriorated lines during this maintenance to prevent future leaks. Always consult your equipment manual for specific guidance.
Installing the New Filter Correctly
Push the line ends firmly onto the new component’s spigots. Canister styles feature an arrow indicating proper fuel flow direction from tank to carburetor. Tube types should match the old part’s orientation.
Secure connections with spring clips using pliers. Ensure all fittings are snug before reopening the fuel valve or removing clamps. This prevents loose connections during operation.
Check thoroughly for leaks before starting your equipment. Annual replacement or after 200 hours of use maintains optimal performance. Proper installation protects your investment for seasons to come.
Conclusion
Taking control of your lawn care equipment’s basic upkeep leads to years of dependable service. The knowledge you’ve gained about component locations empowers you to maintain peak performance at home.
This small but vital part plays an enormous role in protecting your engine from harmful debris. Regular attention prevents damage to sensitive components like the carburetor, saving you money over time.
Add this simple check to your annual maintenance routine alongside other tasks. With replacement filters on hand, you’re prepared for quick service that ensures consistent cutting performance every season.
Your investment in learning these procedures pays dividends through extended equipment life. Confidently apply this knowledge to keep your machine running smoothly for years to come.
FAQ
How often should I replace the fuel filter on my lawn mower?
You should typically replace this part once a year or after every 100 hours of operation. Always check your owner’s manual for the manufacturer’s specific recommendation for your model. If you notice signs of poor engine performance, it might be time for a replacement sooner.
Can I clean a clogged filter instead of replacing it?
While you can attempt to clean some metal or plastic filters, replacement is often the safer and more effective choice. Paper element filters cannot be cleaned properly and must be replaced. A new filter ensures optimal protection for your engine’s carburetor from debris.
What are the symptoms of a bad fuel filter?
Common symptoms include engine stalling, difficulty starting, loss of power, and rough idling. These issues occur because a clogged component restricts the flow of gas from the tank to the engine, affecting overall performance.
Where is the fuel filter usually located on a riding mower?
On a riding mower, you will often find it installed along the fuel line between the gas tank and the engine’s carburetor. It is usually held in place by small clamps and is easily visible. Consult your maintenance manual for the exact spot on your specific model.
Do all small engines have a replaceable fuel filter?
A> Not all small engines have a serviceable, replaceable filter. Some newer models may have a non-replaceable screen inside the fuel tank or carburetor. Checking your equipment’s parts diagram will confirm what type your machine uses.