
Have you ever wondered why that crucial fastener holding your cutting tool seems to fight you when you try to loosen it? This common frustration puzzles many DIY enthusiasts during seasonal maintenance. Getting it wrong can lead to stripped parts or even personal harm.
The truth about fastener direction isn’t as simple as a yes-or-no answer. Different manufacturers and cutting deck designs use various securing methods. What works for one model might be completely wrong for another.
Online discussions often spread confusion with conflicting advice. This guide cuts through the noise with clear, engineering-based facts. You will learn proper identification techniques and safe removal steps.
Understanding how the cutter’s spin relates to its fastener design is key. This knowledge protects your equipment and ensures a smooth maintenance process. Let’s explore what you really need to know before you grab your wrench.
Key Takeaways
- The threading direction is not universal and varies by manufacturer.
- Attempting to force a fastener can cause damage to the equipment.
- Proper identification is essential for safety and tool longevity.
- Online forums often contain conflicting and inaccurate information.
- The rotation of the cutter influences the design of the fastener.
- Consult your owner’s manual for model-specific instructions.
Are Lawn Mower Blade Bolts Reverse Threaded? What You Need to Know
The fastener that keeps your cutting tool in place often defies conventional turning expectations during maintenance. Understanding the engineering behind this design prevents equipment damage and ensures your safety.
Design and Engineering Insights
Manufacturers typically use reverse thread fasteners for a specific safety reason. The cutting component itself contains no threads—only the securing hardware has threading.
This design prevents loosening during operation. As the cutter spins, forces naturally tighten rather than loosen the connection.
| Thread Type | Turning Direction | Common Usage | Safety Feature |
|---|---|---|---|
| Standard Right-Hand | Clockwise to tighten | Some models with locking mechanisms | Requires additional lock washers |
| Reverse Thread | Counter-clockwise to tighten | Most common design | Self-tightening during operation |
| Alternative Locking | Standard direction | Models with star washers | Mechanical locking prevents rotation |
How Rotation Affects Bolt Tightening
The relationship between cutter spin and fastener direction follows a simple rule. Thread direction normally opposes rotation when viewed from above the cutting deck.
Different manufacturers approach this engineering challenge uniquely. Some use standard right-hand threads with locking nuts instead of reverse threading.
Identifying your specific model’s design requires checking the cutter’s rotation direction. This knowledge helps you approach maintenance correctly for your equipment.
Step-by-Step Guide for Safely Removing Mower Blade Bolts
Before you reach for any tools, proper preparation ensures a smooth and safe blade removal process. This systematic approach prevents damage to your equipment and keeps you protected throughout the maintenance.
Preparing Your Tools and Ensuring Safety
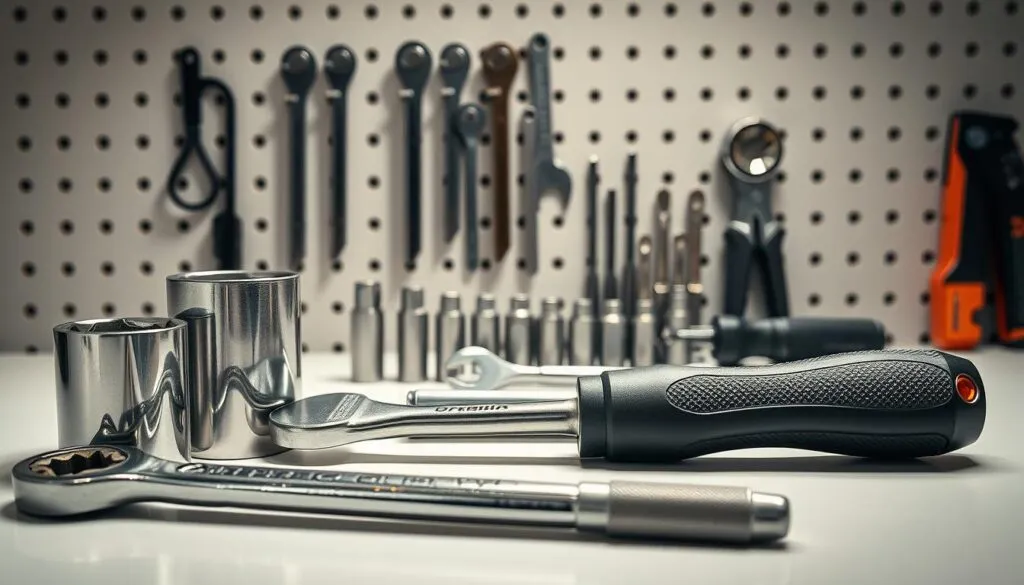
Gather your equipment first. You’ll need a socket wrench or box-end wrench of the correct size. Don’t forget work gloves and safety glasses for protection.
Always disconnect the spark plug wire before starting. Position your equipment on a stable, level surface. If you plan to tip the unit, drain the fuel first.
Consult your owner’s manual for specific thread direction and torque specifications. This critical step varies by manufacturer.
Techniques, Torque, and Proper Wrench Application
Secure the cutting component using a wooden block wedged between it and the deck. This prevents rotation while you apply force.
For reverse-threaded fasteners, turn clockwise to loosen. This opposite direction saves time and prevents damage.
Use an impact wrench for stubborn connections. Manual socket wrenches work well for routine maintenance. Apply penetrating oil to rusted parts and allow adequate time for it to work.
Use the correct socket size to avoid rounding the fastener head. Six-point sockets provide better grip than twelve-point versions.
Follow proper torque specifications during reinstallation. This ensures your connection is secure without being over-tightened.
Tips for Maintaining Your Lawn Mower Blades and Bolt Integrity
The longevity of your outdoor power equipment depends heavily on consistent fastener maintenance practices. Regular care prevents unexpected failures during critical cutting sessions.
Preventing Loosened Nuts and Blade Damage
Inspect your cutting components regularly for wear or corrosion. Check fastener tightness after every 8-10 hours of operation.
Clean the mounting area thoroughly during each service. Remove debris that could interfere with proper thread engagement.
Regular Maintenance and Lubrication Practices
Apply anti-seize compound to fastener threads during reassembly. This prevents corrosion and eases future removal.
Watch for warning signs like stripped threads or rounded heads. Replace compromised fasteners immediately for safety.
Avoid over-tightening connections. Store manufacturer-specified replacement parts for quick access during maintenance season.
Conclusion
The knowledge you’ve gained about fastener direction eliminates guesswork from your seasonal equipment upkeep. You now understand that most cutting tool connections use a special threading pattern to prevent loosening during operation.
Remember this key principle: fasteners typically oppose the rotation direction of the cutting component. This means you turn clockwise to loosen connections with this special threading design.
Your equipment maintenance just became much safer and more efficient. You can confidently remove and reinstall cutting components using proper techniques and torque specifications.
Regular inspection and proper lubrication practices will extend the life of your equipment’s connections. Always consult your owner’s manual when uncertain about your specific model’s requirements.
Thanks for investing time in learning these proper procedures. Your attention to detail ensures your equipment operates safely and efficiently throughout every season.
FAQ
Which way do I turn the wrench to loosen the nut holding my cutting blade?
You typically turn the wrench counter-clockwise (“lefty loosey”) to loosen the fastener. The design uses standard, right-hand threads on most modern machines. The blade’s rotation naturally tightens the connection during operation.
What is the correct torque specification for reinstalling the hardware?
The proper torque value is critical for safety and performance. Always consult your owner’s manual for the exact specification, as it varies by model. Generally, these nuts require a significant amount of force, often between 35 and 80 foot-pounds.
What size socket do I need for this job?
A ½-inch or ⅝-inch socket is most common, but you must verify this. Using an incorrect tool can damage the nut. Check your equipment’s manual or use a socket set to find the perfect fit before you begin.
Can I use an impact wrench to remove the fastener?
Yes, an impact wrench is an effective tool for this task, especially if the nut is seized. Ensure the machine is securely blocked and you are using the correct socket. Apply short bursts of power to avoid stripping the head.
How can I prevent the nut from coming loose over time?
Applying a small amount of blue (medium-strength) thread-locking compound during reassembly can help secure the connection. Also, always re-tighten to the manufacturer’s specified torque using a reliable wrench after the first few uses.